

 Send Email

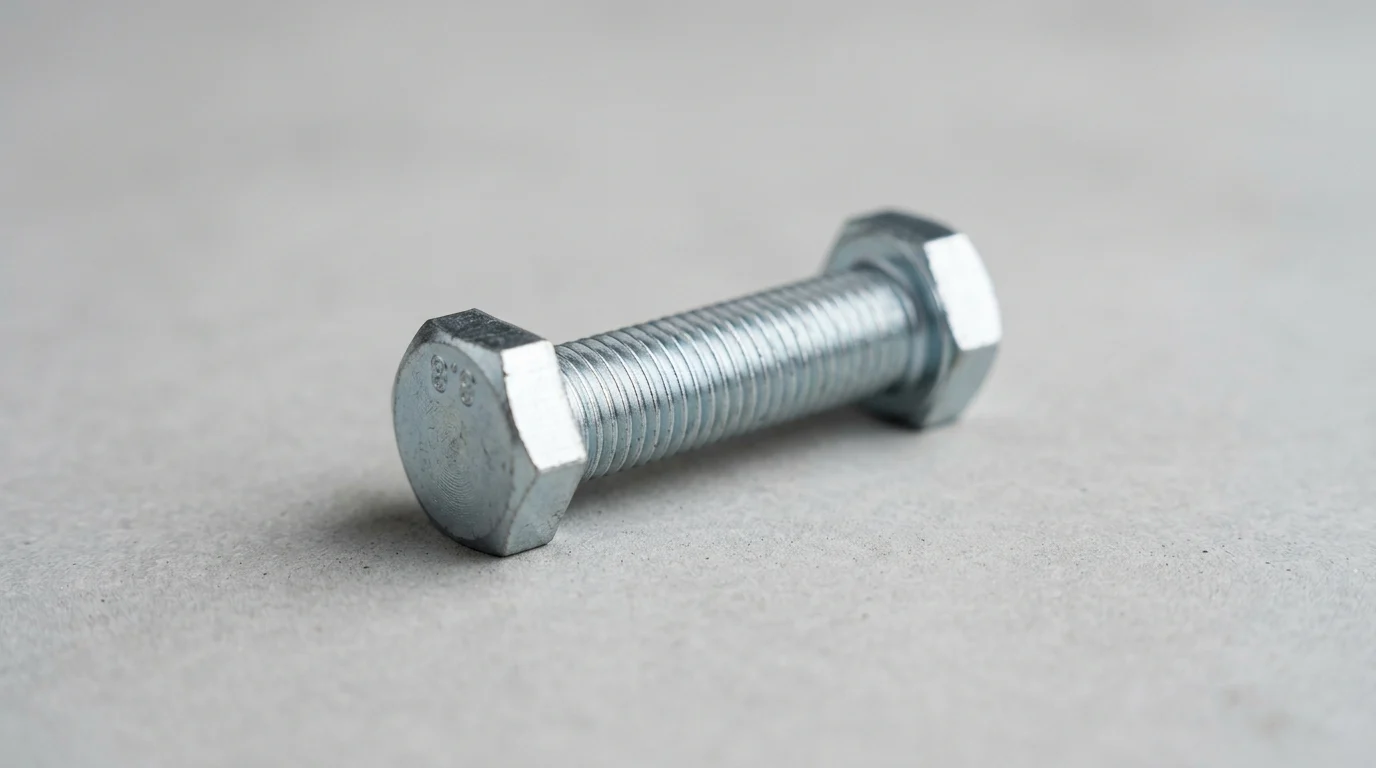
A hex bolt may look like a simple component, but the reliability of an entire assembly often depends on how accurately it is installed. In structural steelwork, heavy equipment, flanged piping, and pressure systems, small errors in torque, lubrication, washer selection, or tightening sequence can translate into lost clamp load, fatigue failure, leaks, and costly shutdowns. This article examines the most common installation mistakes and explains why they matter in real operating conditions. By focusing on predictable preload, correct tools, and disciplined procedures, maintenance teams and installers can reduce premature failures, improve safety, and protect the performance assumptions built into engineered joints.
Why Hex Bolt Installation Mistakes Matter
The integrity of any mechanical or structural assembly relies heavily on the fasteners holding it together. Hex bolts are ubiquitous in industrial applications, but their apparent simplicity often masks the complexity of proper installation. When operators underestimate the precision required to secure a bolted joint, the entire system becomes vulnerable. Installation mistakes are not merely procedural errors; they are primary catalysts for severe joint failure, compromising both performance and safety across various industries.
Modern engineering depends entirely on predictable clamp loads to keep components joined securely under dynamic stresses. If a hex bolt is installed incorrectly, the mathematical models that predict the lifecycle of the machinery are compromised. Addressing these installation variables at the ground level is the only reliable way to ensure that heavy equipment, structural steelworks, and high-pressure vessels perform safely throughout their intended design life.
Common mistakes that lead to failure
One of the most frequent installation errors is improper torque application. Under-torquing fails to generate sufficient clamp load, allowing transverse forces to cause self-loosening and eventual fatigue failure. Conversely, over-torquing pushes the fastener beyond its yield point. Unless the joint specifically utilizes intentionally designed torque-to-yield (TTY) fasteners, permanently stretching the metal drastically reduces its capacity. In tension-critical joints, this unintended elongation causes a loss of clamp load, while in shear-critical joints, it compromises the bolt's structural integrity. Often, operators rely on 'feel' rather than calibrated instruments, leading to a significant variance in applied tension across a single flange or baseplate.
Another critical misstep is failing to account for thread lubrication, which drastically alters friction. Applying a dry torque specification to a lubricated bolt will cause tension to exceed design limits, frequently causing the fastener to snap. (The mechanics of friction and the K-factor are detailed further in the torque application section.)
Additionally, operators often overlook the tightening sequence. Failing to use a star or cross pattern on multi-bolt flanges can cause uneven gasket compression and joint distortion. Omitting required hardened washers or ignoring gasket set (relaxation) are also frequent real-world causes of preload loss that guarantee a reduction in holding power.
Commercial and safety risks of poor installation
The commercial ramifications of poor hex bolt installation are substantial. In high-volume manufacturing, automated assembly lines, or heavy industrial processing, an unplanned shutdown caused by a single sheared bolt can incur downtime costs reaching tens of thousands of dollars per hour. Beyond the immediate financial penalty of lost production, the subsequent labor costs for extracting broken studs and re-machining damaged threads can consume a significant portion of a maintenance budget per incident.
The safety risks associated with installation failures are even more severe. Structural collapses, machinery ejection incidents, and pressurized fluid leaks frequently trace back to compromised bolted joints. Companies face substantial liability, regulatory fines, and warranty claims if an improperly installed fastener leads to property damage or personal injury in the field. Consequently, treating bolt installation as a highly controlled engineering process—rather than a basic manual task—is essential for comprehensive risk mitigation and operational continuity.
Hex Bolt Specifications to Verify Before Installation
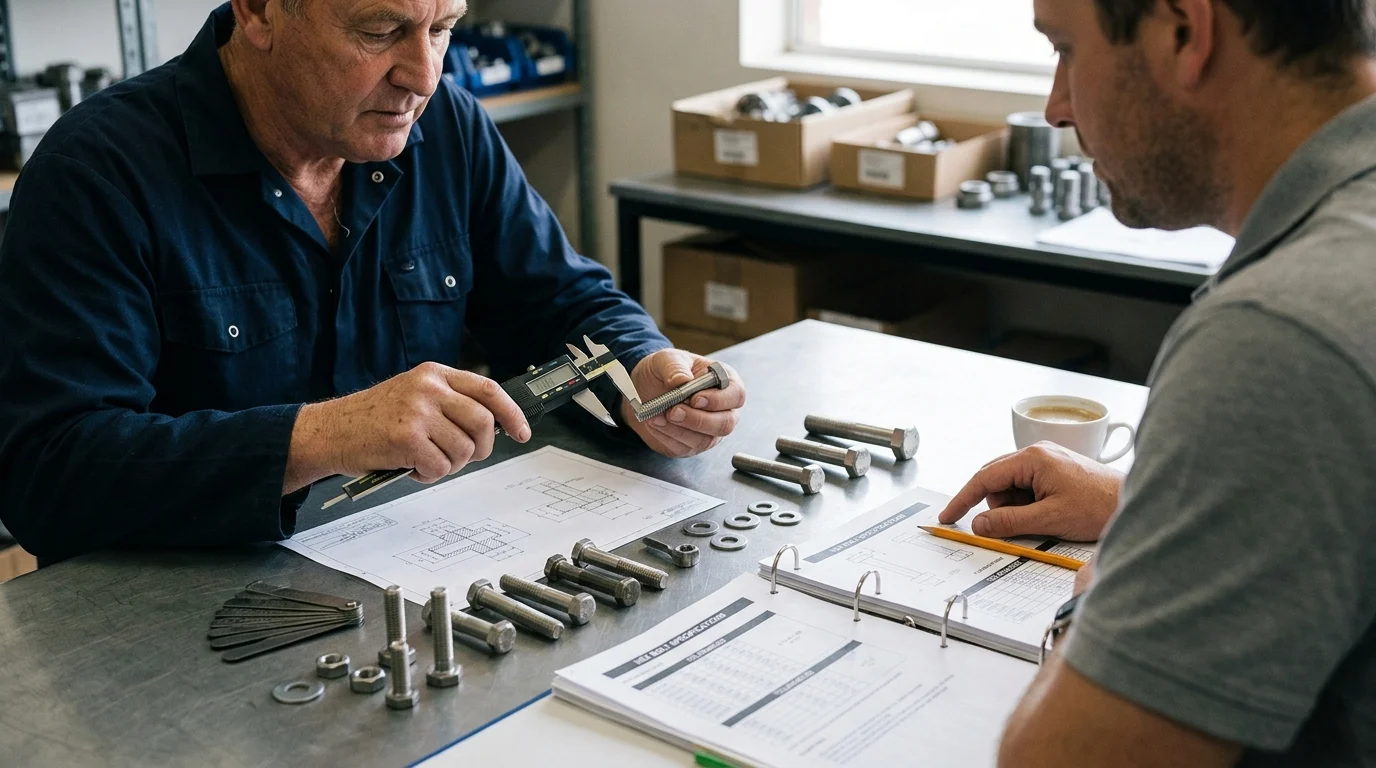
Before a wrench ever touches a fastener, technicians and quality managers must verify that the physical components match the engineering specifications exactly. Installing the wrong hardware is a fundamental error that no amount of tightening precision can correct. Proper selection and verification of hex bolts require a comprehensive understanding of metallurgical properties, dimensional standards, and environmental protections.
The global supply chain introduces additional risks, including the distribution of counterfeit or substandard fasteners. Verifying head markings, manufacturer stamps, and physical dimensions against recognized standards is the first line of defense. When procurement or assembly teams skip these verification steps, they risk introducing weak points into critical infrastructure that may not fail until the system is under maximum operational stress.
Grade, material, thread pitch, and length
The mechanical strength of a hex bolt is dictated by its grade or property class, which specifies its material composition and heat treatment. For instance, an SAE J429 Grade 5 bolt offers a minimum tensile strength of 120,000 psi, making it suitable for standard machinery and automotive applications. In contrast, a Grade 8 bolt provides a minimum tensile strength of 150,000 psi, specifically designed for high-stress, heavy-duty environments. In the metric system, Class 8.8 and Class 10.9 represent similar performance tiers.
Mixing up these grades during installation can lead to immediate failure if a lower-grade bolt is inadvertently subjected to high-grade operational loads. Additionally, verifying the correct length and thread pitch is critical. A bolt that is too short will not achieve full thread engagement, reducing the shear strength of the internal threads by up to 50 percent. Conversely, a bolt that is too long may bottom out in a blind hole, giving the installer a false torque reading while leaving the joint completely loose.
Coating, plating, and galvanizing requirements
Environmental factors necessitate various surface treatments to prevent corrosion, but these coatings physically alter the bolt's dimensions and friction coefficients. Standard zinc electroplating (specified under ASTM B633) typically adds a uniform layer of 5 to 12 microns, which rarely interferes with standard thread fits. However, Hot-Dip Galvanizing (HDG per ASTM A153) is much thicker, often depositing 45 to 50 microns of zinc unevenly across the thread profile.
This extreme thickness requires the internal threads of the corresponding nut to be tapped oversize to accommodate the galvanized bolt. If a standard-tolerance nut is forced onto an HDG bolt, the threads will gall, strip, and bind long before the proper clamp load is achieved. Installers must verify that the coatings on the bolt and the nut are compatible and that the torque specifications have been adjusted to account for the specific friction characteristics of the plating.
Coarse thread vs fine thread comparison
The choice between coarse and fine threads significantly impacts the installation process, the risk of cross-threading, and the joint's long-term performance under dynamic loads. Coarse threads (UNC or Metric Coarse) are the industry standard for most industrial applications because they assemble quickly, resist galling, and perform better in environments with dirt or debris. Fine threads (UNF or Metric Fine) offer a larger stress area and finer tension adjustment but are highly susceptible to fouling.
| Feature | Coarse Thread (UNC) | Fine Thread (UNF) | Typical Application |
|---|---|---|---|
| Thread Depth | Deep, highly robust | Shallow, easily damaged | UNC for cast iron; UNF for thin-wall tubes |
| Assembly Speed | Fast, low cross-thread risk | Slower, requires precision | General construction vs precision aerospace |
| Tensile Strength | Standard baseline | Approximately 10% higher | Heavy machinery vs high-vibration engines |
| Debris Tolerance | High tolerance | Very low tolerance | Outdoor structures vs cleanroom assemblies |
Understanding these distinctions ensures that the installation environment matches the thread profile, preventing costly thread damage during the initial run-down phase.
How to Control Proper Hex Bolt Installation
Achieving the engineered clamp load requires strict control over the installation environment and the tightening methodology. The physical act of turning the bolt is only the final step in a sequence that demands precision alignment, meticulous surface preparation, and correctly calibrated equipment.
The physics of a bolted joint rely entirely on the tension generated within the fastener body acting as a stiff spring, which in turn compresses the joined materials. If any variable disrupts this tensioning process, the joint will inevitably loosen or fail under load. Controlling the installation process means isolating and managing friction, alignment, and mechanical leverage.
Hole alignment and surface preparation
A bolted joint functions through friction, which is generated by the clamping force compressing the joined materials. If the mating surfaces are uneven, painted, or heavily oxidized, this friction is severely compromised. Thick layers of paint (exceeding 3 mils) or heavy rust will compress over time under the pressure of the bolt head and washer, a phenomenon known as embedment relaxation. This relaxation can cause a loss of preload by 10 to 20 percent within the first few weeks of operation, leading to a loose joint.
Furthermore, holes must be properly aligned and sized before the bolt is inserted. Standard clearance holes are typically 1/16-inch larger than the nominal bolt diameter for sizes up to 1 inch. Forcing a bolt through misaligned holes using a hammer or extreme torque induces unintended bending stresses. This effectively reduces the bolt's fatigue life before it even bears an operational load, making precise alignment a non-negotiable step in the installation process.
Applying torque specifications correctly
Torque is the most common, yet most easily misunderstood, method for controlling bolt tension. The relationship is defined by the formula T = K x D x F, where T is torque, K is the nut factor (friction coefficient), D is the nominal diameter, and F is the desired preload. The K-factor is highly variable and heavily dependent on the condition of the threads. A dry, unplated steel bolt typically has a higher K-factor, whereas applying a heavy moly-disulfide lubricant drops the K-factor significantly.
As noted earlier, if an installer applies a torque value expecting a dry condition, but the bolt was inadvertently oiled or coated in anti-seize, the actual tension applied to the joint will increase substantially. This spike in clamp load will likely stretch the bolt past its yield point and snap the fastener. Consequently, torque specifications must be strictly paired with precise lubrication instructions, and calibrated torque wrenches must be used to ensure the applied force is accurate.
Torque control vs turn-of-nut tightening
While torque control is widespread and easy to implement, it is notoriously inaccurate for predicting actual clamp load, often varying by ±25 percent due to microscopic friction variations. Turn-of-nut tightening offers a more reliable alternative, particularly for heavy structural applications. In this method, the fastener is snugged to pull the plies of the joint together, and then the nut is rotated a specific geometric degree. These requirements are highly code-specific (such as those from RCSC or AISC), and the exact rotation amount depends strictly on the bolt's length, diameter, and joint geometry rather than a generic rule.
| Installation Method | Accuracy (Clamp Load) | Equipment Required | Best Suited For |
|---|---|---|---|
| Torque Control | ± 25% | Calibrated Torque Wrench | General machinery, engine blocks, standard piping |
| Turn-of-Nut | ± 10% | Spud Wrench, Marker | Structural steel, heavy construction, bridges |
| Direct Tension Indicators (DTI) | ± 5% | Feeler Gauge, Standard Wrench | Critical structural joints requiring visual proof |
| Ultrasonic Tensioning | High Precision | Ultrasonic Transducer | Aerospace, extreme high-pressure vessels |
Selecting the correct tightening method depends entirely on the criticality of the joint and the acceptable margin of error in the final clamp load.
Hex Bolt Inspection and Compliance
Installation does not end when the wrench is put away. Rigorous inspection and compliance verification are necessary to confirm that the bolted joint meets all engineering and safety standards. Without documented quality control, a facility cannot logically prove that its assemblies are structurally sound or compliant with prevailing industry regulations.
Quality assurance departments play a critical role in bridging the gap between theoretical engineering and practical assembly. By implementing structured inspection protocols, organizations can detect under-torqued, over-stretched, or mismatched fasteners before the equipment is deployed to the field, thereby preventing severe failures and costly product recalls.
Inspecting assembled hex bolts
Post-installation inspection must always begin with visual confirmation. A fundamental rule of thumb in mechanical assembly is verifying adequate thread stick-out; industry standards typically require a minimum of two to three full threads extending beyond the face of the nut. This visual cue ensures full engagement of the nut's load-bearing capacity. Additionally, inspectors should look for signs of galling, stripped threads, or crushed washers, which indicate severe over-tightening or improper hardware selection.
For critical joints where simple torque verification is insufficient, advanced methods like ultrasonic tension measurement are employed. This non-destructive testing method measures the physical elongation of the bolt to determine the exact clamp load, offering highly accurate readings. Ultrasonic testing completely bypasses the friction variables that plague traditional torque checks, providing a definitive measurement of the tension currently holding the joint together.
Standards, certificates, and lot traceability
Traceability is a cornerstone of industrial compliance and risk management. Fasteners utilized in critical infrastructure, aerospace, or pressure vessels must be accompanied by Material Test Reports (MTRs). These documents certify the chemical composition, heat treatment, and mechanical testing results from the specific heat lot of steel used to manufacture the bolts.
Organizations governed by ASME, API, or ISO 9001 standards are generally required to retain these lot numbers and associated MTRs for several years, depending on the specific code. If a field failure occurs, this traceability allows manufacturers to isolate the defective batch and recall specific components rather than overhauling entire product lines. Losing lot traceability effectively renders the fasteners uncertified, often requiring complete replacement in highly regulated industries.
Quality-control checklist
Implementing a standardized quality-control checklist drastically reduces the incidence of installation errors on the shop floor. This checklist should mandate the daily or weekly calibration of all mechanical and electronic torque wrenches, ensuring they operate within the standard ±4 percent accuracy threshold required by most quality systems. Using a wrench that has drifted out of calibration guarantees that every bolt it touches will be incorrectly tensioned.
Furthermore, the checklist must define the sampling rate for inspection. For high-volume assembly lines, utilizing statistical process control standards such as ANSI/ASQ Z1.4 with an Acceptable Quality Limit (AQL) of 1.5 ensures that non-conforming installations are caught early. This statistical approach provides high confidence in the overall assembly quality without creating the massive production bottleneck associated with 100 percent manual inspection.
Choosing the Right Hex Bolt Installation Standard
The final defense against installation failures is ensuring that the overarching standards governing the project are appropriate for the specific application. A one-size-fits-all approach to fastener installation invariably leads to over-engineering in simple applications and significant failures in complex, highly dynamic environments.
Integrating fastening standards into the broader Product Lifecycle Management (PLM) system ensures that design intent translates accurately to the assembly floor. When project managers carefully align the installation protocols with the environmental and load realities of the application, they create a robust system that resists fatigue, vibration, and thermal stress over the long term.
Balancing load, environment, and application requirements
Selecting the right installation standard requires balancing the static and dynamic loads the joint will experience against its operational environment. For example, a joint subjected to heavy vibrational loads will require standards that mandate secondary locking mechanisms, such as prevailing torque nuts, safety wire, or specialized wedge-locking washer systems, rather than relying solely on standard hex nuts and spring washers.
Temperature also plays a critical role in standard selection. Standard carbon steel bolts operate reliably between -40°C and 200°C. If the application exceeds 200°C, thermal expansion will significantly alter the clamp load, often causing the joint to loosen as the metal expands. This necessitates the use of high-temperature alloys, such as A286 stainless or Inconel, and specific high-heat installation protocols like those outlined in ASTM A193, which account for thermal cycling.
When to request engineering or supplier review
Installers and project managers must recognize when standard torque charts and basic procedures are insufficient. Engineering review is mandatory when the joint design features extreme geometries, such as exceptionally long grip lengths. Long bolts act like torsion springs and are highly susceptible to torsional wind-up during installation, meaning much of the applied torque twists the bolt rather than stretching it.
Similarly, if the application involves joining dissimilar metals, such as an aluminum fixture bolted to a carbon steel frame, a supplier review should be requested. This review assesses the risk of galvanic corrosion, which can rapidly degrade the joint. The engineering team can then determine if specialized isolating washers, dielectric coatings, or specific torque adjustments are required before assembly to prevent accelerated material degradation.
Key takeaways for reliable installation
Reliable hex bolt installation is an analytical process that extends far beyond the manual act of tightening a nut. Success depends on treating the bolted joint as a holistic, interconnected system where the fastener, the tooling, the mating surfaces, and the environmental conditions interact continuously. By strictly verifying material specifications before assembly and controlling the complex friction variables during tightening, operators can achieve the precise clamp load required by the design.
Maintaining rigorous post-assembly inspection protocols and lot traceability further insulates the project against compliance failures and safety liabilities. Ultimately, the transition from basic, uncalibrated assembly to highly engineered fastening protocols ensures long-term structural integrity. This disciplined approach minimizes costly operational downtime, extends the lifecycle of critical machinery, and safeguards both personnel and equipment in the field.
Key Takeaways
- Use calibrated torque tools instead of tightening hex bolts by feel to achieve consistent clamp load across the joint.
- Always match torque specifications to the bolt’s lubrication condition because lubricated threads can create much higher tension than dry threads.
- Avoid over-torquing standard hex bolts because stretching them beyond yield can permanently reduce their strength and clamp load.
- Follow a star or cross tightening sequence on multi-bolt assemblies to prevent uneven gasket compression, flange distortion, and preload loss.
- Install required hardened washers and account for gasket relaxation to maintain holding power after the joint settles.
- Treat hex bolt installation as a safety-critical process because one failed fastener can cause downtime, equipment damage, leaks, or injury.
Frequently Asked Questions
What is the most common hex bolt installation mistake?
Improper torque application is one of the most common mistakes. Under-torquing can allow loosening and fatigue failure, while over-torquing can stretch the bolt beyond its yield point and reduce clamp load.
Why should hex bolts not be tightened by feel?
Tightening by feel creates inconsistent preload across the joint. A calibrated torque wrench or controlled tightening method helps achieve predictable clamp load and reduces the risk of joint failure.
How does lubrication affect hex bolt torque?
Lubrication reduces friction in the threads and under the bolt head. If a dry torque value is used on a lubricated bolt, the resulting tension may exceed design limits and cause the fastener to stretch or break.
What happens if a hex bolt is under-torqued?
An under-torqued hex bolt may not generate enough clamp load to resist vibration or transverse movement. This can lead to self-loosening, fatigue cracking, and eventual joint failure.
Why is tightening sequence important for multiple hex bolts?
A proper star or cross pattern distributes load evenly across flanges, gaskets, and baseplates. Skipping the correct sequence can cause uneven compression, distortion, leaks, or preload loss.